
Thinking about installing a water softener but unsure where to start? Water softener installation might seem intimidating, but with the right tools and guidance, it’s a task you can handle yourself or confidently outsource to a professional. This guide will walk you through the entire process, ensuring your home gets the clean, soft water it deserves. Whether you’re a DIY enthusiast or want to understand the basics, this guide is for you.
What is a Water Softener and Why Do You Need One?
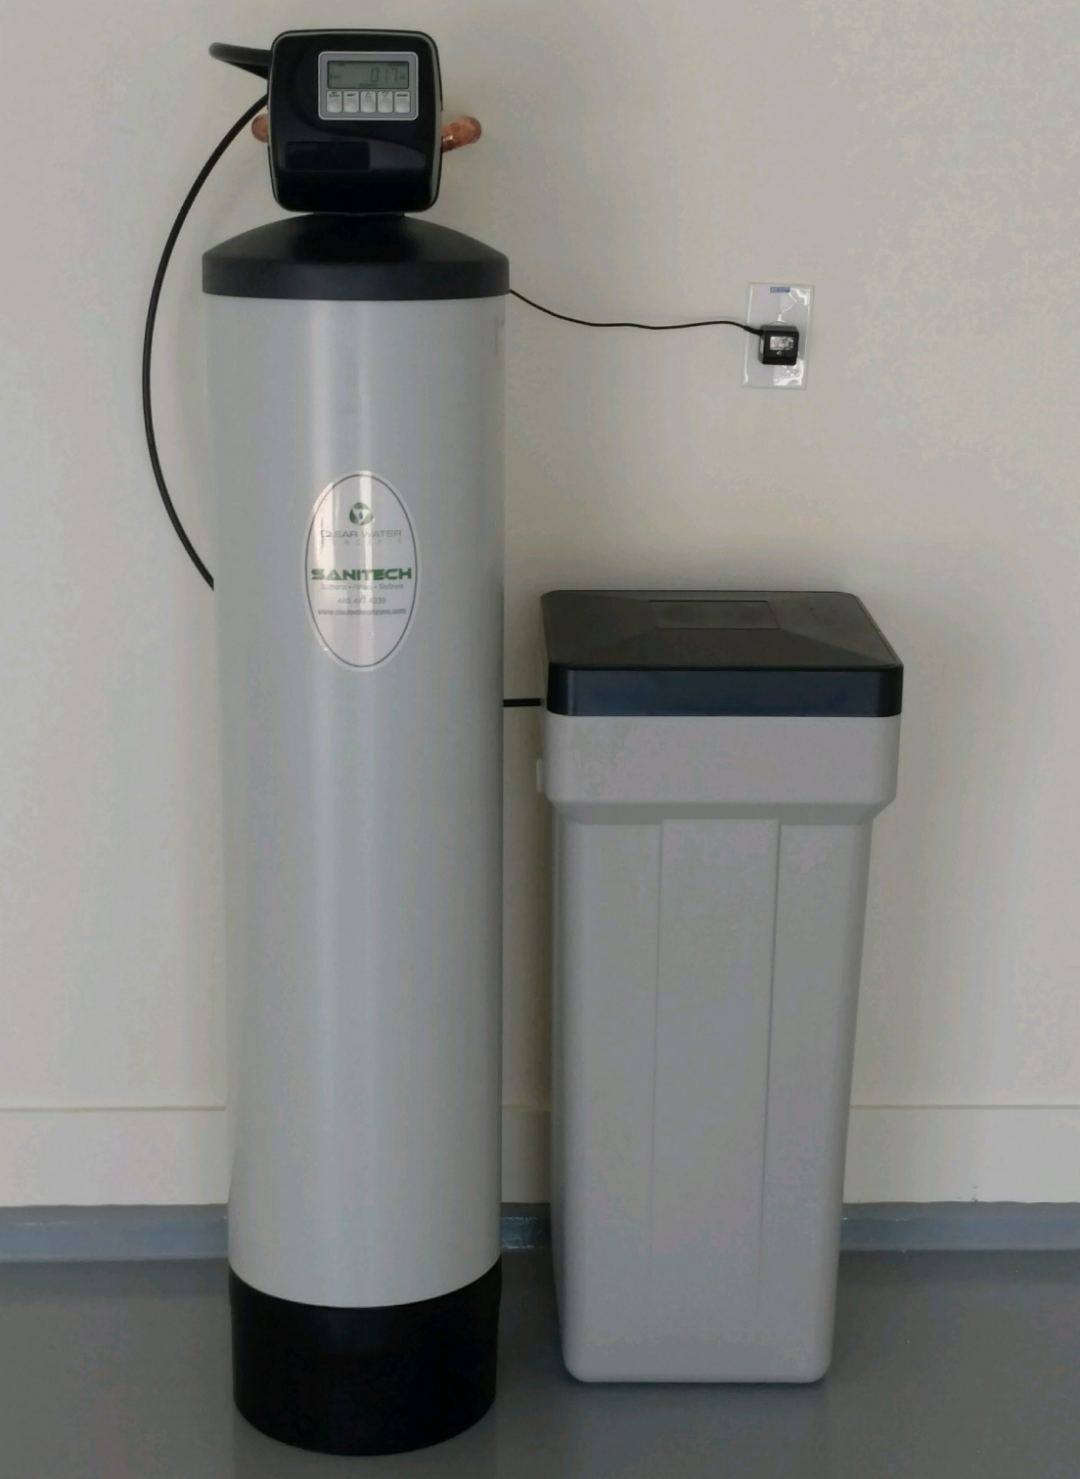
A water softener is a device designed to remove hard water minerals like calcium and magnesium, which can cause scale buildup, reduce appliance efficiency, and leave your skin and hair feeling dry. Installing a water softener protects your plumbing, extends the life of your appliances, and makes everyday tasks like bathing and cleaning more enjoyable.
Considerations for Installing a Water Softener

If you’re a DIY enthusiast with basic plumbing skills—such as the ability to cut and solder pipes—and have access to the right tools, you may be able to successfully install a water softener yourself. However, there are key factors to consider before getting started.
Existing Water “Loop”
The most significant consideration is whether your home has a pre-plumbed water “loop.” A loop is a dedicated line installed during construction that simplifies water softener installation. If your home has an existing loop, the process becomes much easier and can often be completed in just a few hours.
Without a loop, installation becomes more complicated. You’ll need to:
- Locate your home’s main water line where it enters the house.
- Run new pipes to connect the softener to the water supply.
- Check if a permit is required and ensure compliance with local building codes.
For homes without a loop, it’s generally best to hire a professional installer. A licensed technician can handle the complexities, ensuring the job is done safely and up to code.
Every Installation is Unique
No two homes are exactly alike, and installation scenarios can vary based on the plumbing setup. To prepare, you’ll need to:
- Understand your home’s specific plumbing layout.
- Have all the necessary tools and parts on hand before starting.
- Follow the manufacturer’s instructions that come with your water softener model.
Regardless of your home’s setup, always install the water softener as close as possible to where water enters your home. This placement ensures that your entire water system benefits from soft water, especially your water heater.
Protecting Appliances and Plants
When connecting your water softener, ensure it is installed upstream of your water heater. This configuration helps:
- Extend the life of the water heater by reducing scale buildup.
- Prevent hot water from damaging the softener.
Additionally, consider bypassing softened water for outdoor faucets. Softened water contains sodium, which can negatively affect houseplants and landscaping. Set up your system so outdoor faucets receive untreated water while the rest of your home benefits from softened water.
Well Water Installation
If your home relies on well water, installing a water softener follows the same process as with municipal water systems, as long as the water similarly enters your house. However, well water often contains higher levels of minerals, so you may also need a pre-filter to remove sediment and iron before the water enters the softener.
Tools and Supplies You’ll Need for Water Softener Installation

Before getting started, gather these essential tools and materials:
- Torch and solder
- Pipe cutters
- Pipe wrench
- Tape measure
- Flexible tubing
- Copper fittings
- Gate valves
- 2 compression fittings
- Tubing or copper pipe
- Teflon tape
- 2 union fittings
- PVC solvent or flux
Having these tools on hand will make the process smoother and ensure you’re well-prepared.
How to Install a Water Softener: A Step-by-Step Guide
- Shut off the water and drain the pipes. Begin by turning off the main water supply to your house. Then, open the lowest valve in your plumbing system to let the remaining water drain out completely.
- Turn off the water heater. Disconnect the power to the water heater to ensure safety during installation.
- Choose the installation location. Select a spot on the main water line to install the water softener. Make sure the softener is positioned before the water heater in the plumbing system.
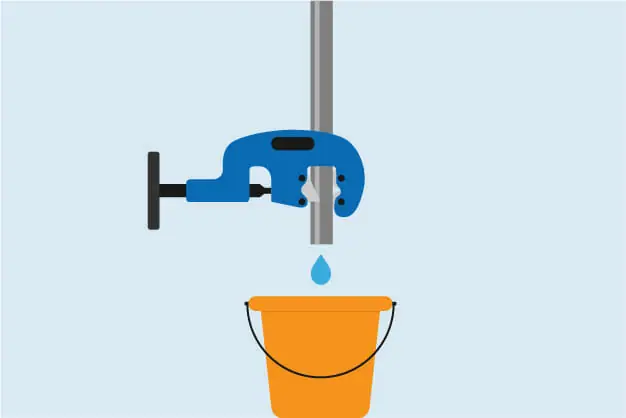
- Cut the main water line. Use a pipe cutter to make an opening in the main line. Place a bucket underneath the area to catch any residual water. Tighten the pipe cutter around the pipe and rotate it until the pipe is fully cut.
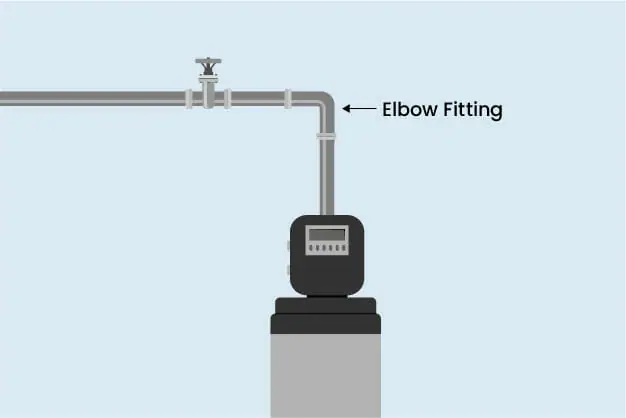
- Install an elbow fitting. Attach an elbow fitting to direct water through the filter. If needed, include a bypass valve to allow water to flow around the filter for maintenance purposes.
- Measure and cut pipes. Measure the pipes that will connect to the bypass valve, using the unit’s dimensions as a guide. Cut the pipes to the required length. Before attaching the pipes to the bypass valve, solder on any necessary fittings or nipples.
- Connect pipes to the unit. Using the provided brass adaptors, securely attach the pipes to the water softener.
- Secure the drain hose. Attach the drain hose with a clamp and route it to the designated drain. Leave at least 2 inches of space above the drain opening to prevent back-siphoning. Common drainage options include a floor drain, utility sink, or cleanout.

- Connect the overflow tube to the brine tank. Check the manufacturer’s instructions for height and placement specifications.
- Remove sediment and debris. Set the valve to the bypass position and run water through the system to clear out any debris or sediment.
Power the unit and set it up.. Plug the water softener into an electrical outlet. Switch the valve to the backwash position and slowly open the water supply to allow water to flow into the unit, releasing any trapped air. Follow the manufacturer’s instructions to set up the flushing schedule and learn how to add salt to the brine tank.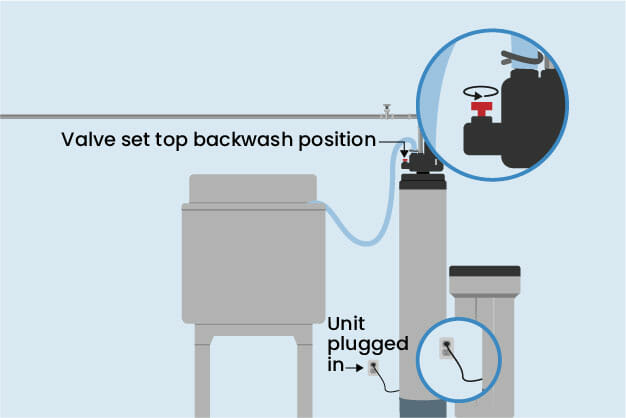
Your water softener is now ready for use!
Common Mistakes to Avoid During Installation
- Skipping the Bypass Valve: Without a bypass valve, you can’t isolate the water softener for maintenance or repairs.
- Improper Drain Line Setup: Ensure the drain line is securely connected and properly positioned to prevent flooding.
- Using Incorrect Pipe Sizes: Match the water softener connections with your home’s plumbing for a secure fit.
Professional Installation vs. DIY: What’s Right for You?

DIY Installation
- Ideal if you’re comfortable with basic plumbing and have the right tools.
- Cost-effective, as you only pay for the equipment.
Professional Installation
- Recommended for complex setups or homes with older plumbing.
- Professionals can ensure compliance with local building codes and provide a warranty.
Maintenance Tips for Your Water Softener
Once your water softener is installed, regular maintenance will keep it running smoothly:
- Check the salt levels in the brine tank monthly and refill as needed.
- Clean the brine tank every 6–12 months to prevent salt buildup.
- Test your water hardness periodically to ensure the system is working efficiently.
Why Choose Clear Water Concepts for Your Water Softener Installation?
![]()
At Clear Water Concepts, we specialize in providing high-quality water softener systems tailored to Arizona’s unique water conditions. Whether you’re looking for professional installation or need expert advice for a DIY project, we’re here to help. Visit Clear Water Concepts to learn more and schedule a consultation today!